Get an API access token
Most programmatic interactions with Airbyte require an access token. An access token represents an individual Airbyte user, and it has the same permissions as that Airbyte user.
Permissions alone don't guarantee access to every operation. When authentication is turned on, which is the default for Helm deployments, Airbyte also checks each request against the following:
- The type of caller. Some operations are reserved for Airbyte's internal components, such as workers that report sync progress or save discovered schemas. Access tokens from users and applications can't perform these operations, even if the user is an instance admin.
- The token's scope. If a token is scoped to a single workspace, it can only act on resources in that workspace.
- Where saved resources belong. Airbyte checks the workspace that a saved source, destination, or connection belongs to, not only the IDs in the request. Every resource in the request must belong to a workspace that the user has the required permission in.
If your access token is missing, invalid, or expired, Airbyte returns 401 Unauthorized. Get a new access token and try again. If your access token is valid but doesn't allow the operation, Airbyte returns 403 Forbidden. A new access token doesn't fix this. Check the user's permissions and the workspace that the resources belong to instead.
Using a service account for this purpose is helpful. If you rely on making requests to the Airbyte API using personal credentials, your apps and scripts could break if someone leaves your organization.
The process to generate an access token involves two steps.
- Create an application in Airbyte.
- Use that application to get an access token.
Prerequisites
You need access to either of the following:
- An Airbyte Cloud organization
- A self-managed deployment of Airbyte that exposes the
airbyte-serverservice
Step 1: Create an application
An Airbyte application represents an individual user using a client ID and client secret.
- Cloud
- Core
-
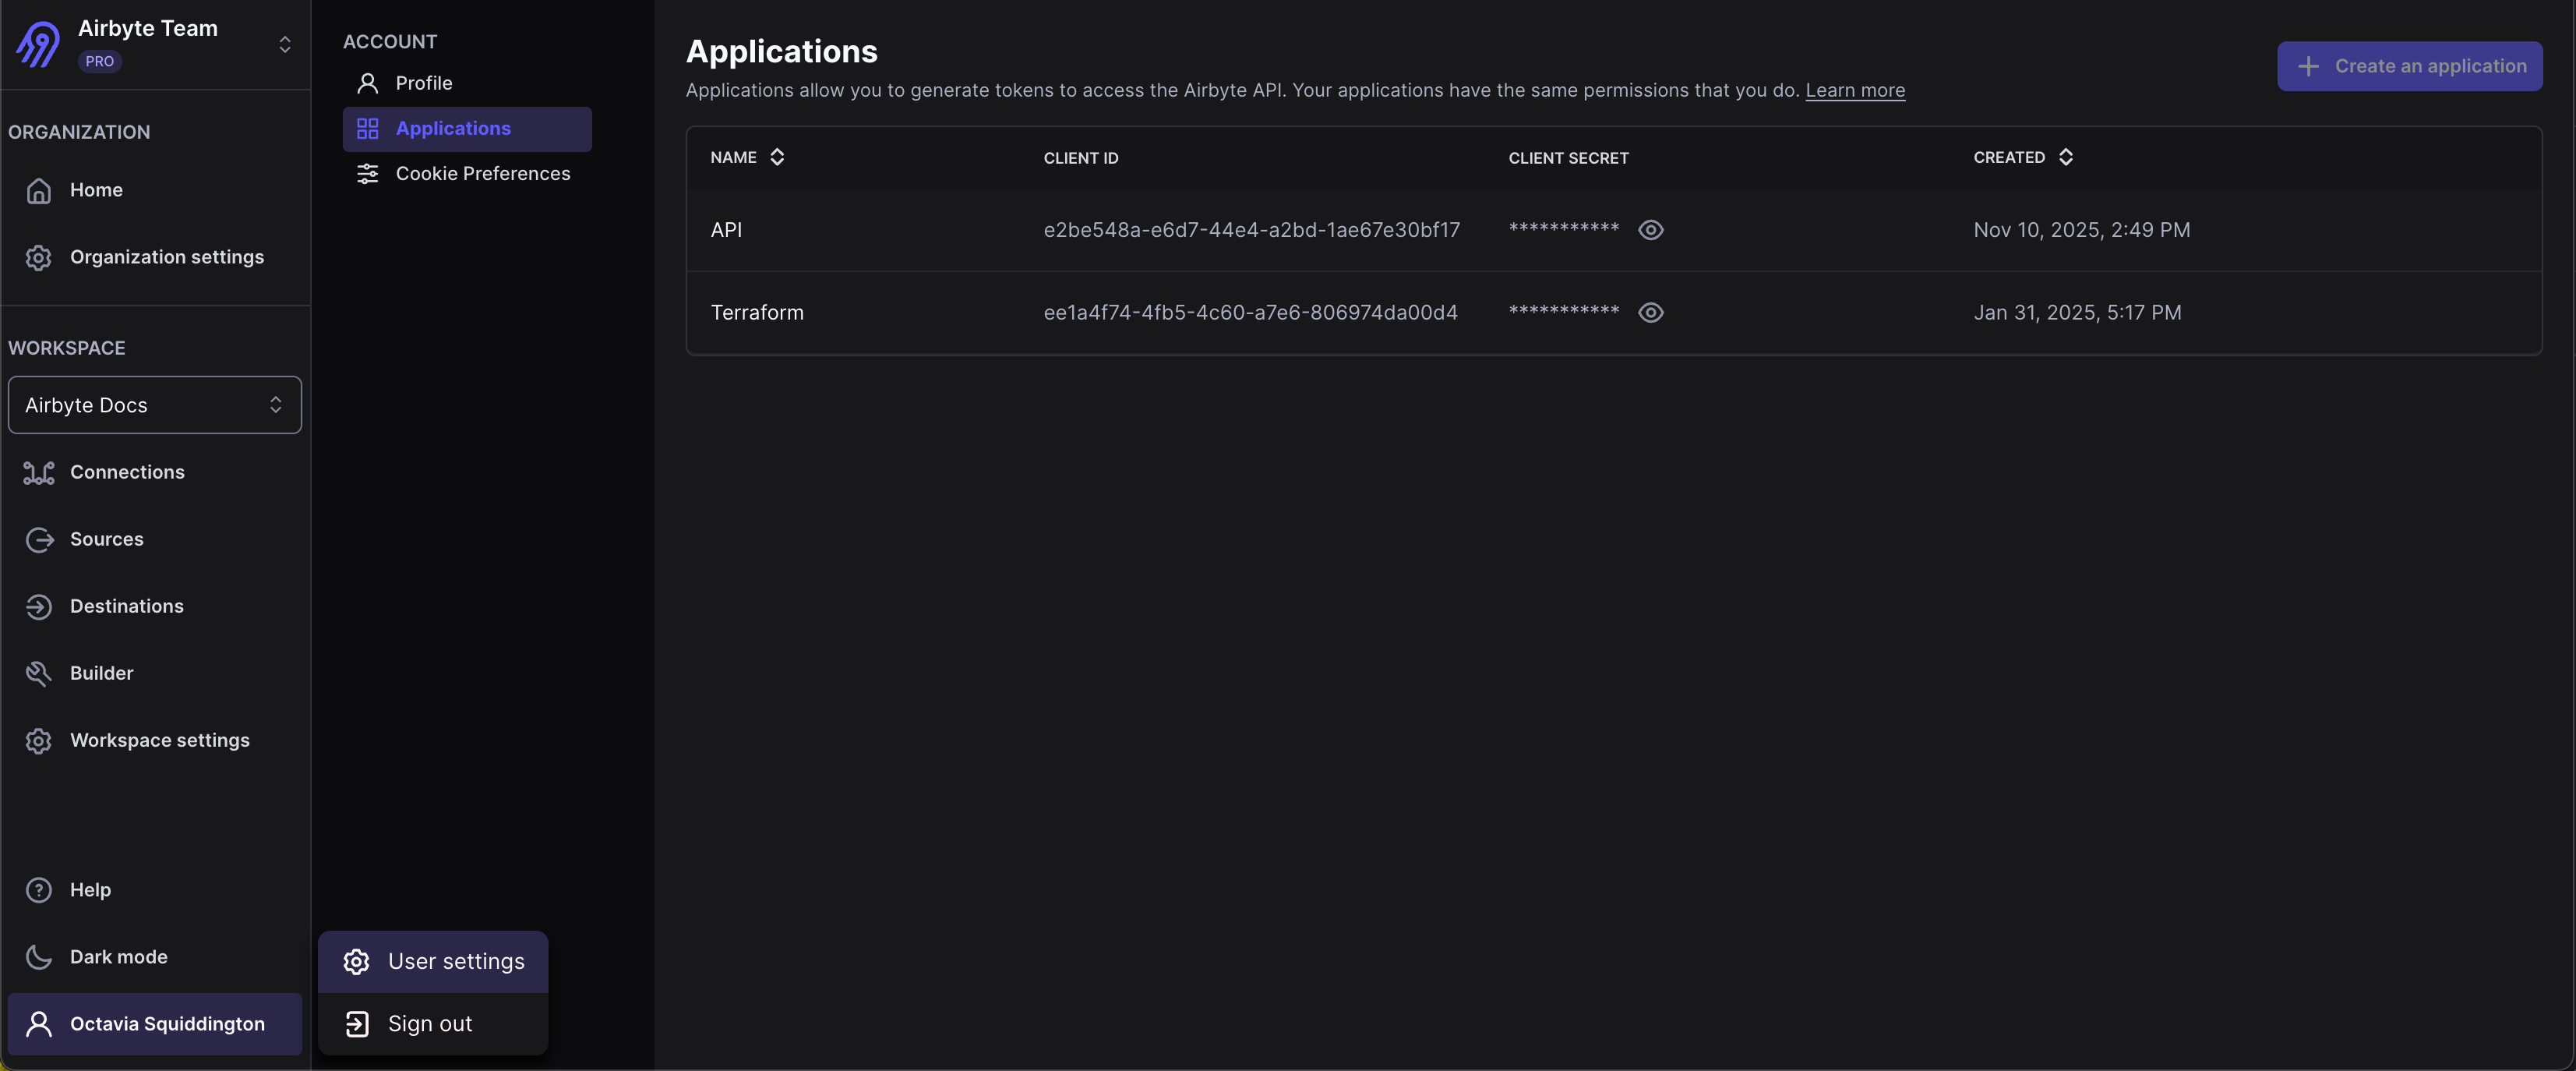
In Airbyte's UI, click your name > User settings > Applications.
-
Click Create an application.
-
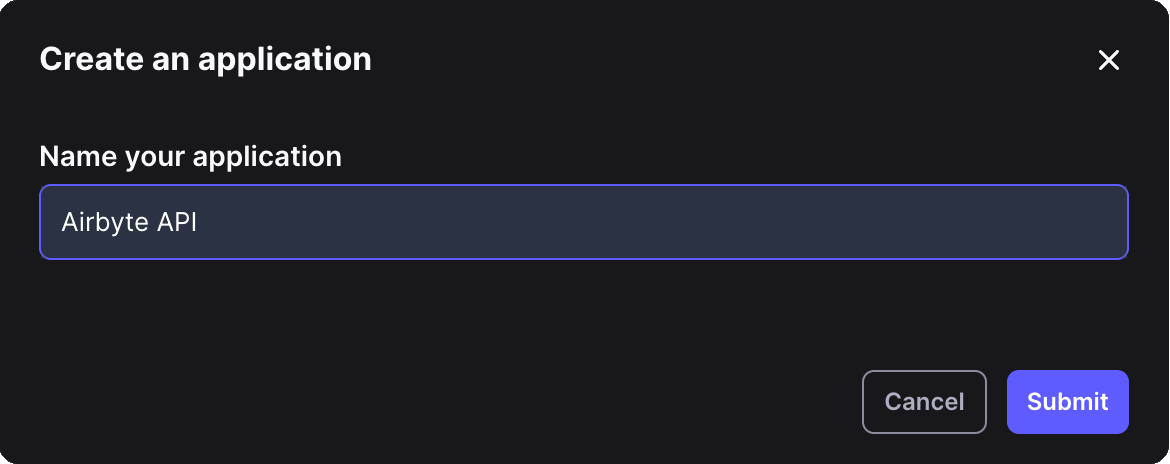
Give your application a descriptive name and click Submit.
-
Click the icon to expose your client secret.

Since Airbyte Core only has a single user, Airbyte already provides an application with a client ID and client secret for you.
In Airbyte's UI, click User > User settings > Applications. Click the icon to expose your client secret.
If you deploy Airbyte with abctl, you can also use the command line interface to see your client ID and client secret.
Step 2: Get an access token
You can exchange your client ID and client secret for an access token. Use this access token to make requests. Access tokens expire in 15 minutes. Each time your access token expires, request a new one.
- Manually
- Cloud
- Self-Managed
- Terraform and SDKs
You can manually generate an access token from Airbyte's UI.
-
Still on the Applications page, hover over the application for which you want to generate an access token.
-
Click Generate access token.
-
Click Copy or Download access token.
-
Close the dialog.
Make a POST request to the API, replacing the client ID and client secret placeholders below with your actual client ID and client secret.
curl --request POST \
     --url https://api.airbyte.com/v1/applications/token \
     --header 'accept: application/json' \
     --header 'content-type: application/json' \
     --data '
{
  "client_id": "<YOUR_CLIENT_ID>",
  "client_secret": "<YOUR_CLIENT_SECRET>",
  "grant-type": "client_credentials"
}
'
If your request was successful, the API returns your access token with an expiry time.
{
  "access_token": "<YOUR_ACCESS_TOKEN>",
  "token_type": "Bearer",
  "expires_in": 900
}
For more examples, see Get an access token.
Make a POST request to the API, replacing the Airbyte URL, client ID and client secret placeholders below with your actual Airbyte URL, client ID, and client secret. If Airbyte is running locally, your Airbyte URL is probably http://localhost:8000.
curl --request POST \
     --url <YOUR_AIRBYTE_URL>/api/public/v1/applications/token \
     --header 'accept: application/json' \
     --header 'content-type: application/json' \
     --data '
{
  "client_id": "<YOUR_CLIENT_ID>",
  "client_secret": "<YOUR_CLIENT_SECRET>",
  "grant-type": "client_credentials"
}
'
If your request was successful, the API returns your access token with an expiry time.
{
  "access_token": "<YOUR_ACCESS_TOKEN>",
  "token_type": "Bearer",
  "expires_in": 900
}
For more examples, see Get an access token.
The Terraform Provider and SDKs can handle this for you. Initialize the Provider/SDK with the Client Credentials grant type using your Application's client_id and client_secret.
Step 3: Use your access token
Once you have an application and/or access token, use it to make requests from your source code. Learn more in the Developers section.